How to fix paint roller marks and smooth the finish
Fix paint roller marks by identifying ridges, lap lines, and heavy texture. Learn when to stop rolling, smooth dried paint, or repaint a wall.
Paint roller marks need different fixes depending on whether they are raised ridges, uneven texture, or overlapping bands. While paint is fully workable, even out excess with light passes. Once it starts drying, stop rolling; let raised defects harden before smoothing and recoating. Inspect the surface before adding another coat.
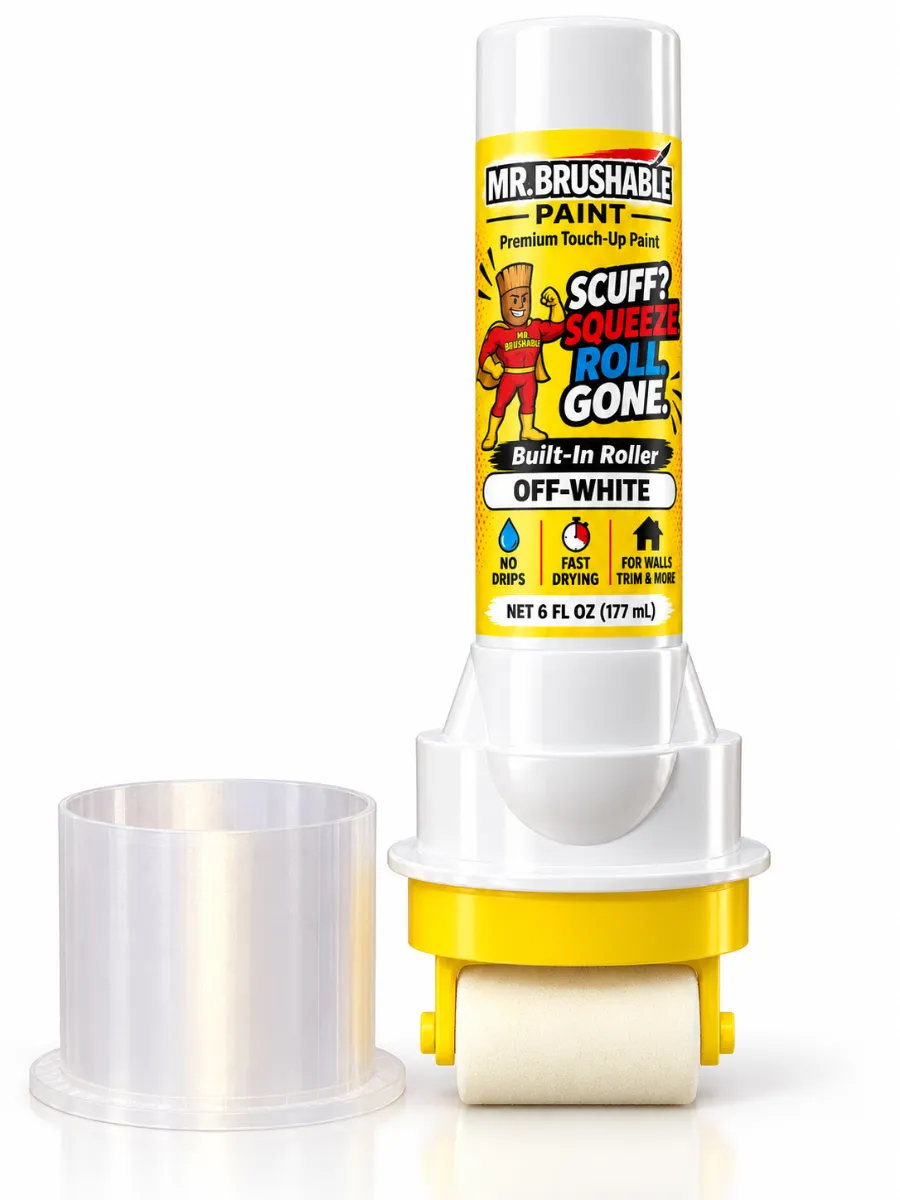
Shop this bottle →
Table of contents
- Identify which paint roller marks you have
- Correct wet paint before it starts setting
- Smooth dried paint roller marks before recoating
- Match the roller texture on a small repair
- Decide whether the whole wall needs another coat
Identify which paint roller marks you have
Look straight at the wall, then across it with light coming from the side. After it dries, gently feel the suspect area. Record what you see and feel separately: a line can cast a shadow because it is raised, while a smooth patch can stand out because it reflects light differently. Inspecting from different angles helps distinguish those problems.
Use these observations to choose the repair you will attempt:
- Narrow raised tracks: Look for excess paint along the roller's path. Reduce pressure and correct the buildup before repainting.
- Coarse bumps: Compare the texture with the surrounding wall. A longer nap can produce a higher-profile pattern on a smooth surface.
- Broad overlapping bands: Consider whether the adjoining passes dried before they were joined. Plan the next coat around a continuous wet edge.
- A smooth but conspicuous patch: Compare its sheen and color as well as its texture. Do not sand sound paint simply because the patch is visible.
Correct wet paint before it starts setting
If the coating still moves freely, redistribute excess with gentle finishing passes. Do not press harder to flatten a line: excessive pressure can create tracks of its own. If the roller starts dragging through partly dried paint, leave the section alone rather than repeatedly trying to rescue it.
For the next section, follow this sequence:
- Load evenly. Roll the cover through the tray until the fabric is coated throughout. Remove excess on the tray's slope; it should not drip when lifted.
- Work a manageable area. A section about 2 feet wide by 3 feet high is a useful starting point, rather than spreading paint across the entire wall at once.
- Join fresh paint to fresh paint. Move from the unpainted area back into the adjacent wet section. Roll promptly after brushing the edges.
- Finish lightly. Feather the final strokes with minimal pressure instead of squeezing the last paint from the cover.
Before restarting, consider where you will stop. Choose a corner or other natural boundary rather than pausing midway across an open wall. Set out your supplies first so fetching another cover or moving furniture does not interrupt a wet section.
Smooth dried paint roller marks before recoating
Safety first:
Prepare a small test repair in this order:
- Allow the coating to harden. Follow its preparation and recoat directions. If the abrasive smears or pulls the paint, stop rather than forcing it.
- Level the raised defect. Use a fine abrasive suitable for the coating, with light pressure. Inspect frequently so you remove the ridge without hollowing out the surrounding surface.
- Remove the dust. Clean as the coating manufacturer directs and allow the surface to dry.
- Address exposed material. Follow the primer requirements for any bare or repaired area before applying the finish coat.
Match the roller texture on a small repair
Choose the cover for the coating and the existing surface. Short-nap rollers produce a finer profile; medium and longer naps carry more paint and suit rougher surfaces, but can leave pronounced dimples on smooth walls. Finish with light, consistent pressure rather than changing pressure to chase individual marks.
Decide whether the whole wall needs another coat
After the repair dries, inspect it in daylight and the room's usual lighting. Ask three questions: Is the ridge gone? Does the texture resemble the surrounding finish? Does the patch still look like a separate color or sheen? Write down the result so the next attempt changes one variable, rather than several at once.
Use this practical decision rule for paint roller marks: try a localized correction when one isolated defect remains; plan a continuous coat between natural boundaries when repeated bands cross the wall. Another coat has a purpose only after you have changed the loading, joining, or preparation step that caused the problem.
Before repainting, make a short job card: coating and sheen, recommended roller covering, recoat interval, and intended stopping boundary. Keep it beside the paint. Treat those as instructions for this coating, not universal settings that apply to every room.
Frequently Asked Questions
Will paint roller marks disappear as the paint dries?
Do not judge a wet finish as the final result, but do not assume drying will remove raised tracks. Let the coating dry as directed, then inspect its texture and appearance before choosing a repair.
Can a roller leave brush marks around the edges?
Brushing and rolling can leave different surface patterns. Work the edge and adjoining wall together while wet, and aim for a uniform texture where the two meet.
Can dried paint on the roller affect the next repair?
Keep dried paint and debris out of the working paint. Clean equipment after use and protect it from dust during storage so the next application starts with clean tools.
Ready for a smoother finish? Shop the built-in roller touch-up paint →
SCUFF? SQUEEZE. GONE!™
Mr. Brushable™ was invented in Raleigh, North Carolina by David Sparks. Patent pending.
Squeeze. Brush. Done.
Touch-up paint with the brush built into the bottle, from $8.99. Free U.S. shipping on orders $25+.